

|
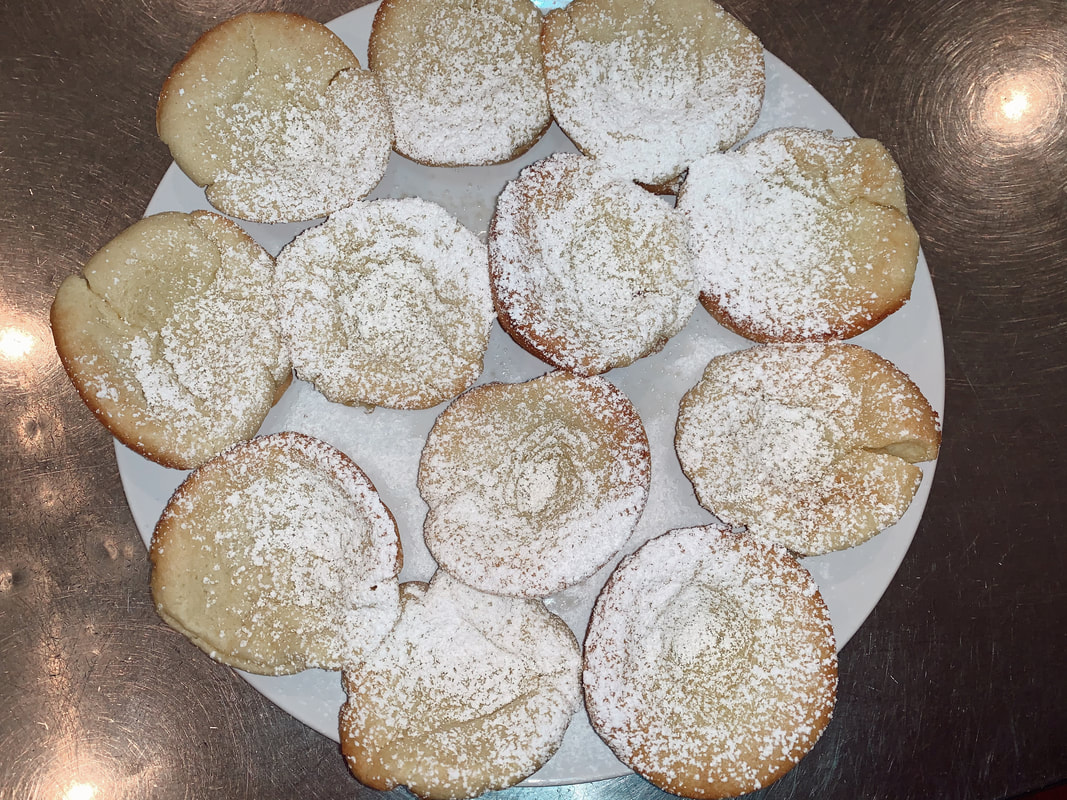
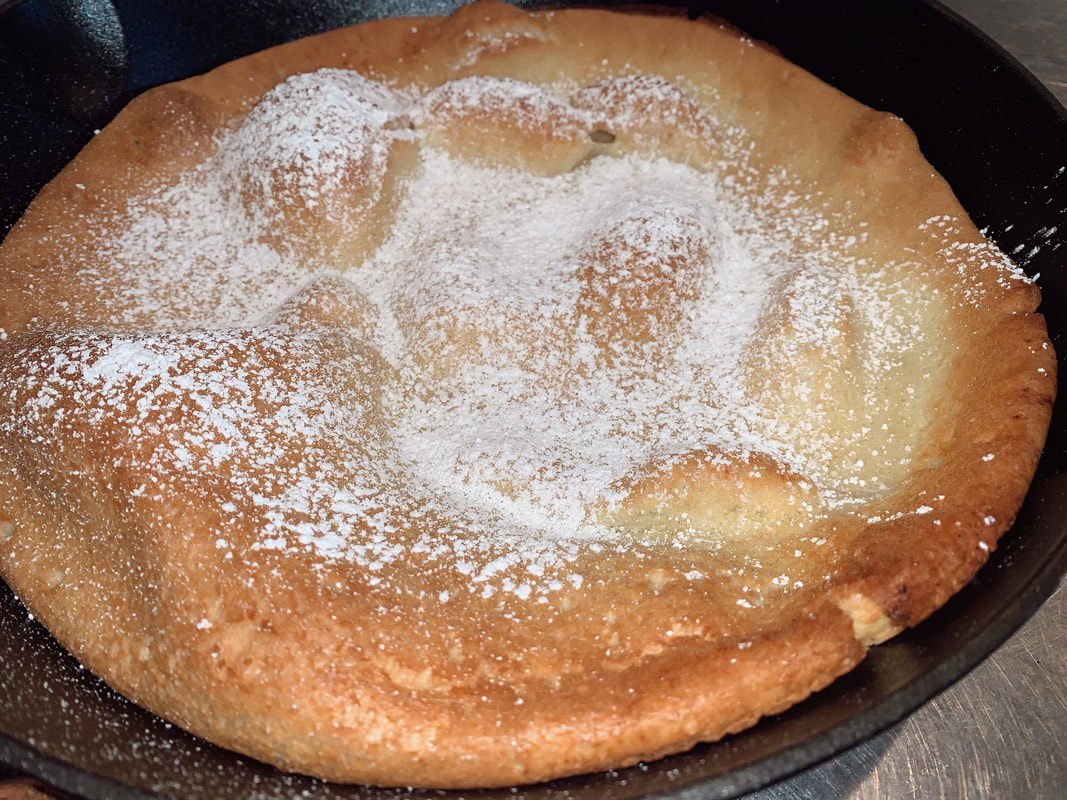
9/7/2020 0 Comments Mini Dutch BabiesDutch Baby part twooooo, except these are many and mini!! I really wanted to make pancakes, but I thought, why not make these mini dutch babies?! So cute and so delicious!! My family loved the dutch baby I made in the large skillet, and I found out that they can be made in a muffin pan as long as the tin is heated in the oven while it pre-heats. It was so simple and took me about 5 minutes to put all of the ingredients in the blender. Once the oven was at the right temperature, I put little bits of butter in the muffin pan and poured in the batter. My mom helped me pour it in as evenly as possible. They looked very full and grew triple in size in the oven!!! They were massive, so I was afraid that I'd done something wrong, but they deflated once they got out of the oven. I left them maybe 3 minutes longer than they were meant to bake for, so that they would get a little color on the tops! 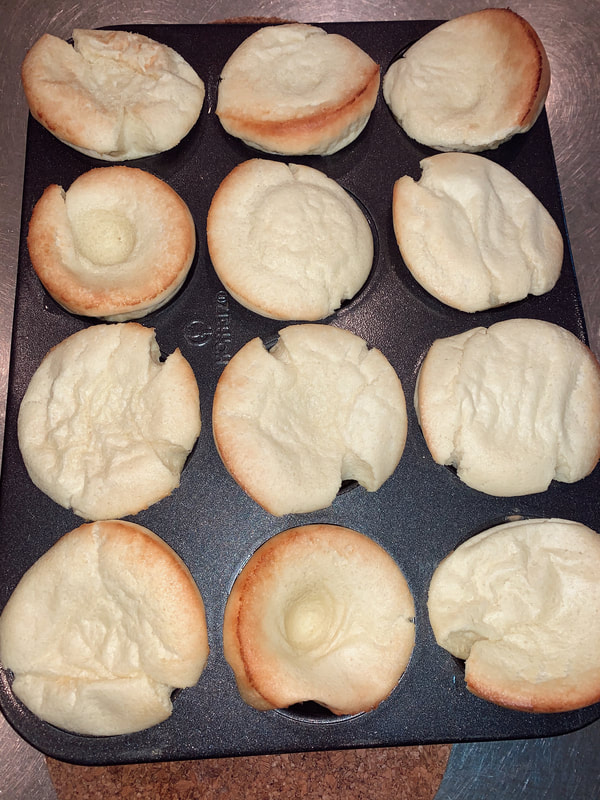 They turned out so delicious!! I let them cool and dusted them with powdered sugar!
I topped these off with some jam and ate them with a coffee on the side! Such a fun and easy way of making pancakes!!
I'll definitely make these again!! xoxo
0 Comments
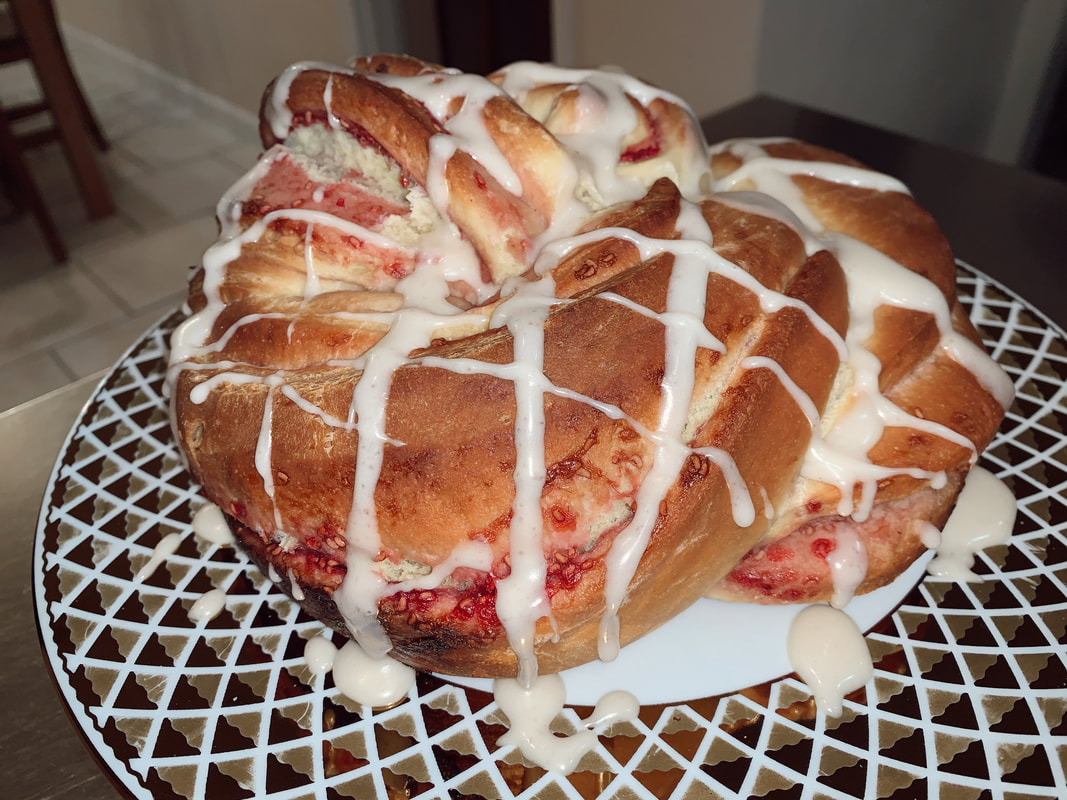
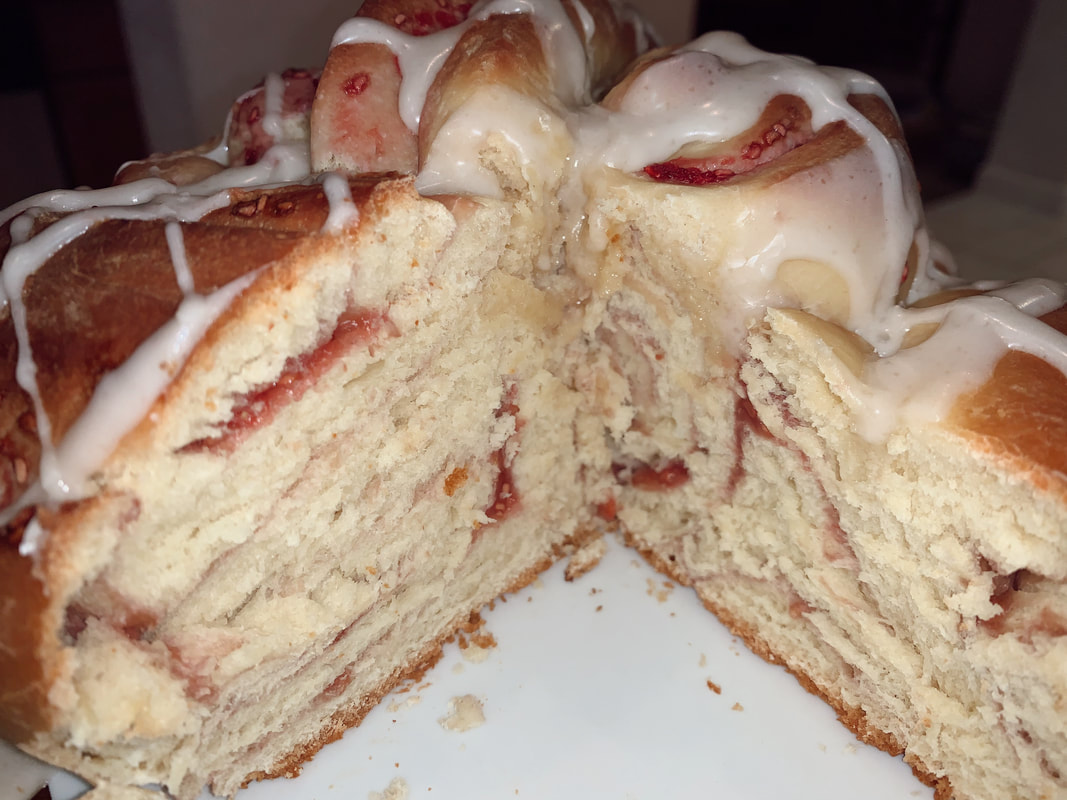
9/7/2020 0 Comments Raspberry Danish TwistThis sweet bread is sooooo cozy and delicious!! I love danish bread, and this was such a great recipe to follow. I mixed the dough together with a baking spatula, and then kneaded with with my hands before setting it to rise. It was super duper sticky, so if you have an electric mixer with a bread handle then that would probably work better. 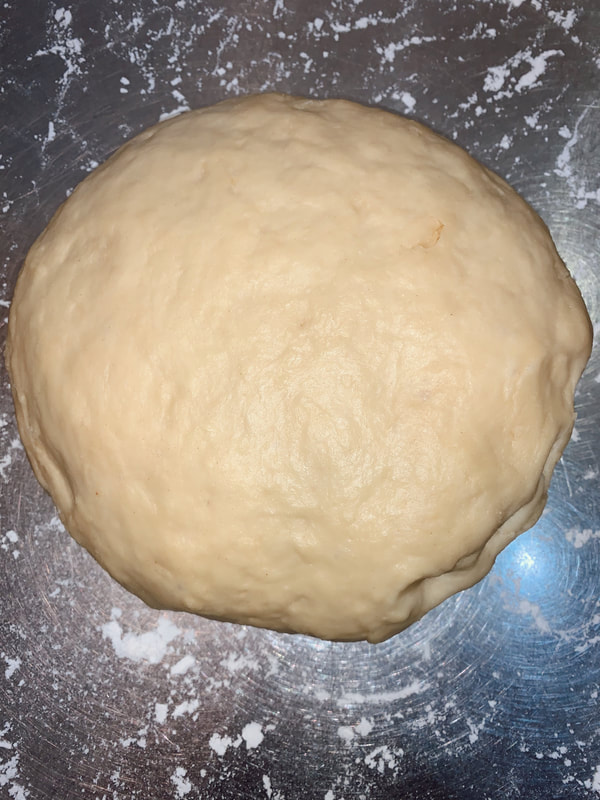 After letting it rise and making the raspberry sauce, I rolled it, sliced it, twisted it, and bunched it up into a circular shape. This was VERY messy. But totally worth it. If I were you, I wouldn't make a raspberry sauce from scratch. I didn't have anything that would thicken it quickly, so it was a very runny and watery sauce. It spilled out from EVERYWHERE. I tried to scoop it into the dough as best I could and formed this beautiful bread. 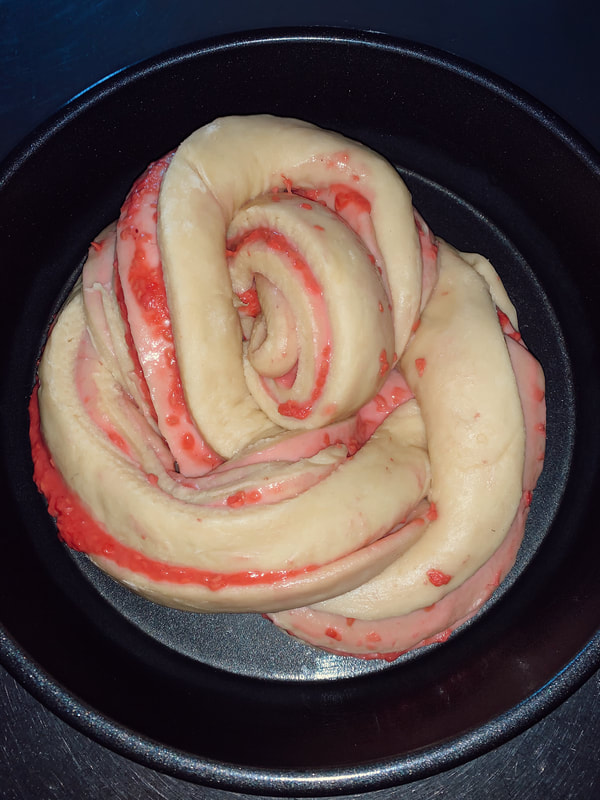 After forming the shape, I let it rise once again. It rose and toasted so beautifully in the oven!! Raspberry seeds look so pretty!! The bread opened and cracked elegantly and looked so professional!! 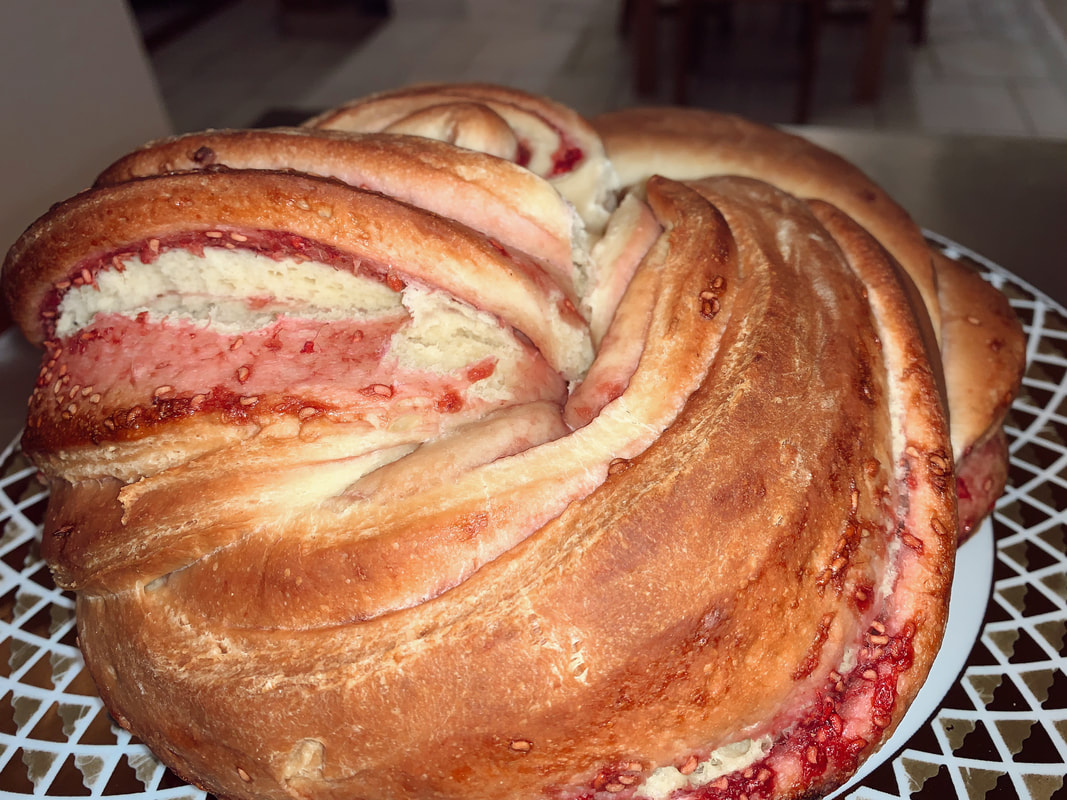
The icing on top took it to a whole other level. Goodness gracious just look at this beauty!! It was a massive bread, so fluffy and moist on the inside. It really was an elevated, cinnamon-bun-like bread. I definitely would make this again, just with a pre-made jam or jelly.
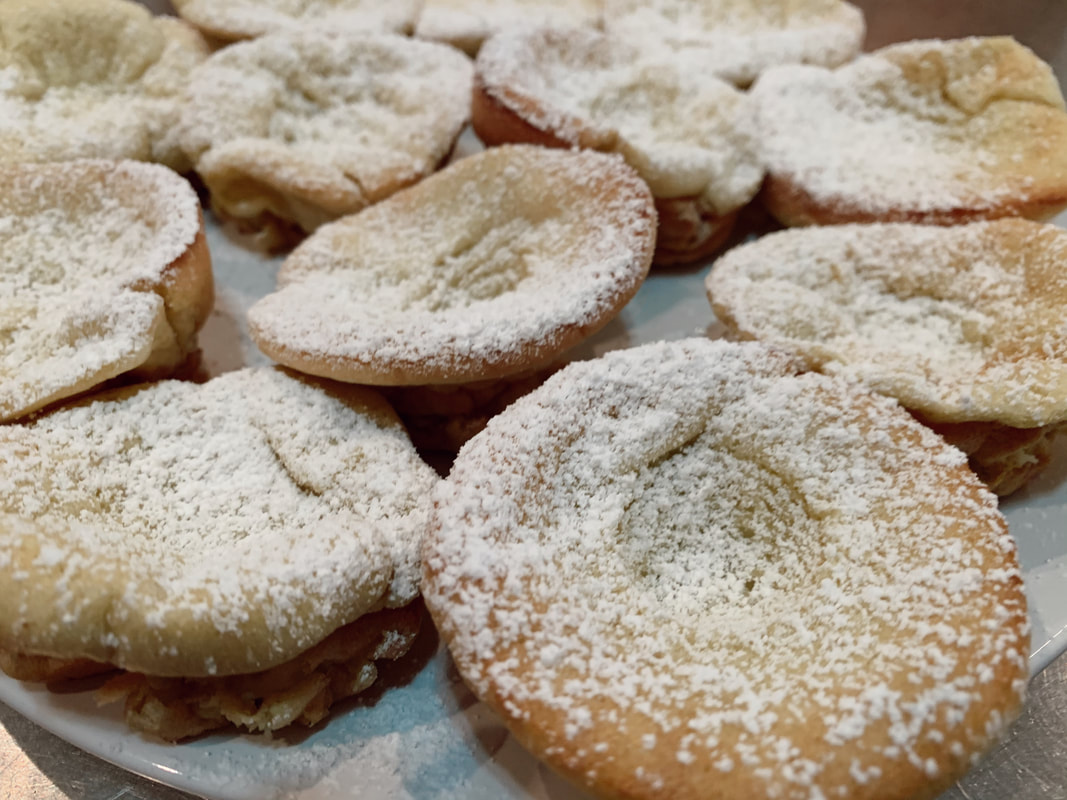
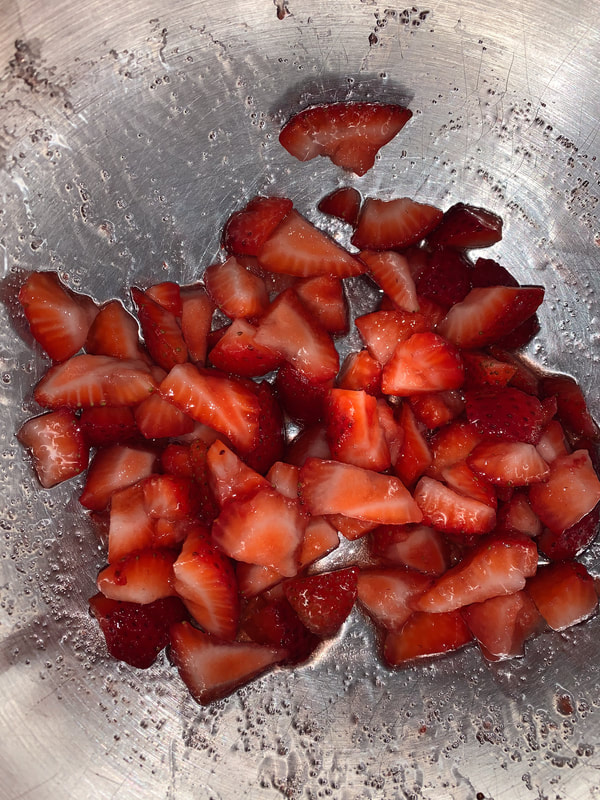
xoxo 9/7/2020 0 Comments Mini Blueberry GalettesThe Strawberry Galette was such a hit, when I saw the pint of blueberries in the fridge, I thought to myself...there's only one thing to do...make mini ones with blueberries!!! I used the same dough recipe and mixed the blueberries with a bit of sugar to dry them out and sweeten them a bit. Rolling out these little galettes was actually quite difficult. I used a ton of flour on the surface of the table so that it wouldn't stick, but the dough was so hard, that it was very difficult to work with and make even. They definitely were not as even as they could've been, but they're so cute!! I filled them with the blueberry/sugar mixture and folded the edges up. 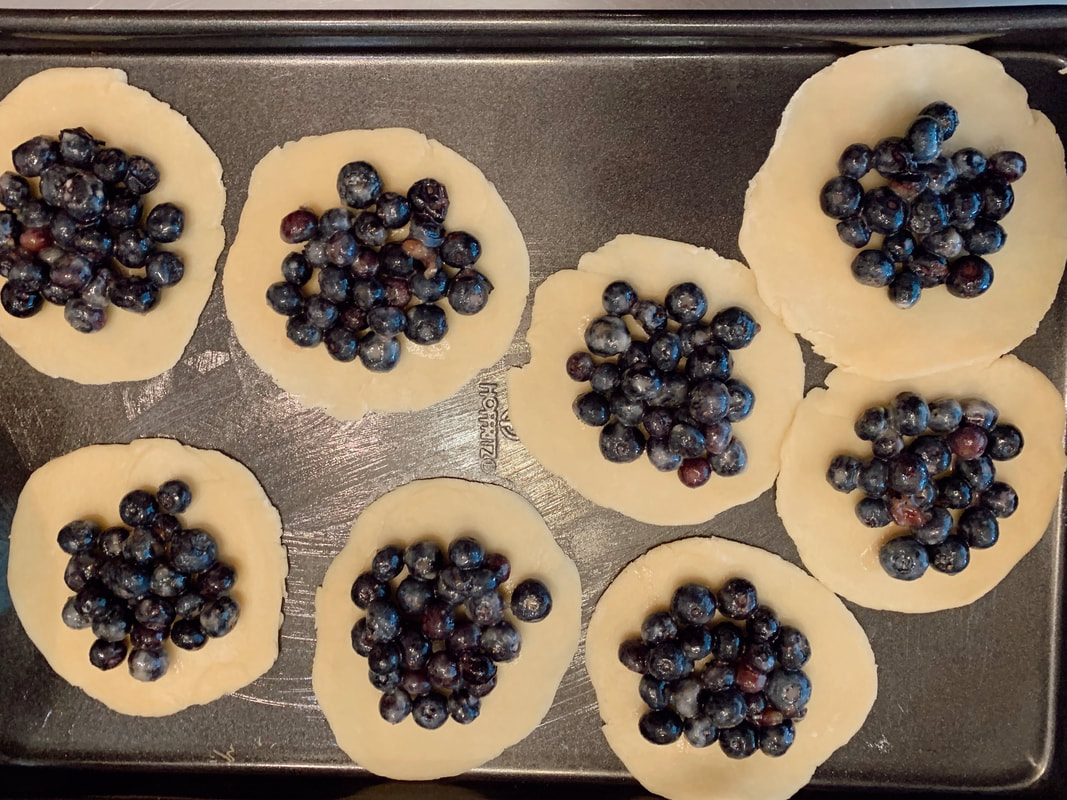 After leaving them in the oven for about 2 minutes, I realized that the folded edges were collapsing!! I panicked and took them right out of the oven. My mom suggested that I use aluminum foil and make little boats for them. We quickly cut the foil and made the little boats for them. The foil worked so well!! I think the issue was that that I couldn't fold the edges as flat, because the blueberries were too thick. 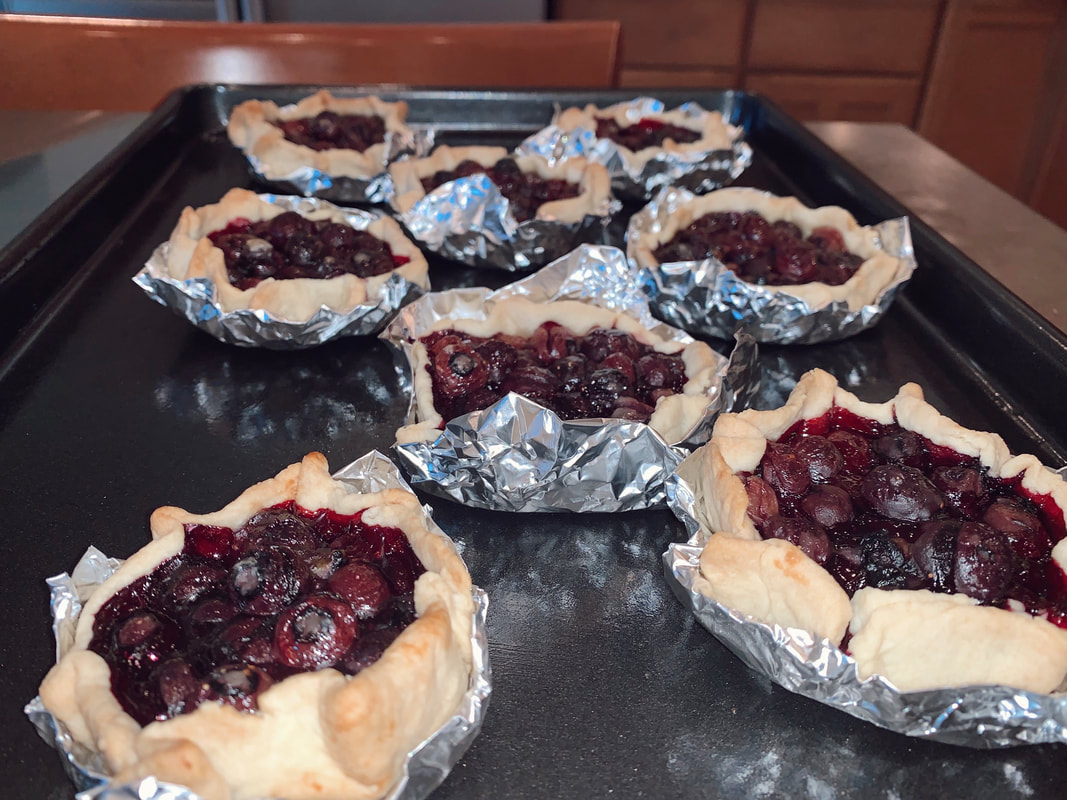 After taking them out of the oven, they were absolutely perfect little blueberry boats!! 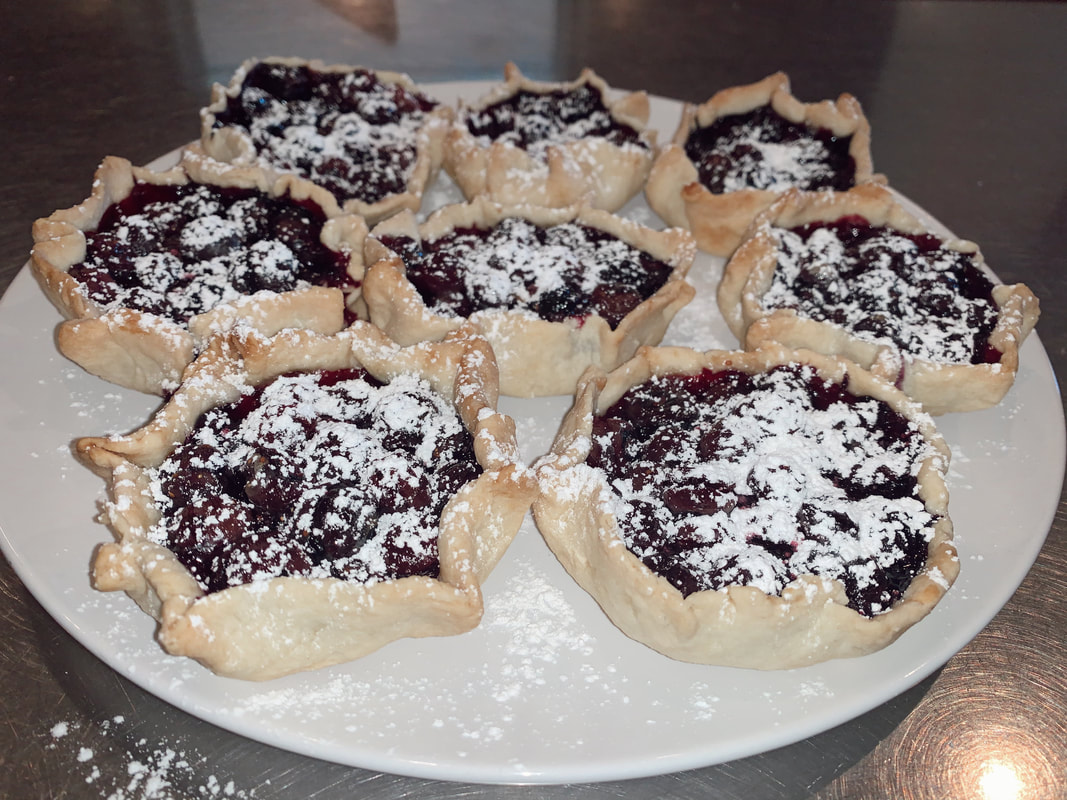 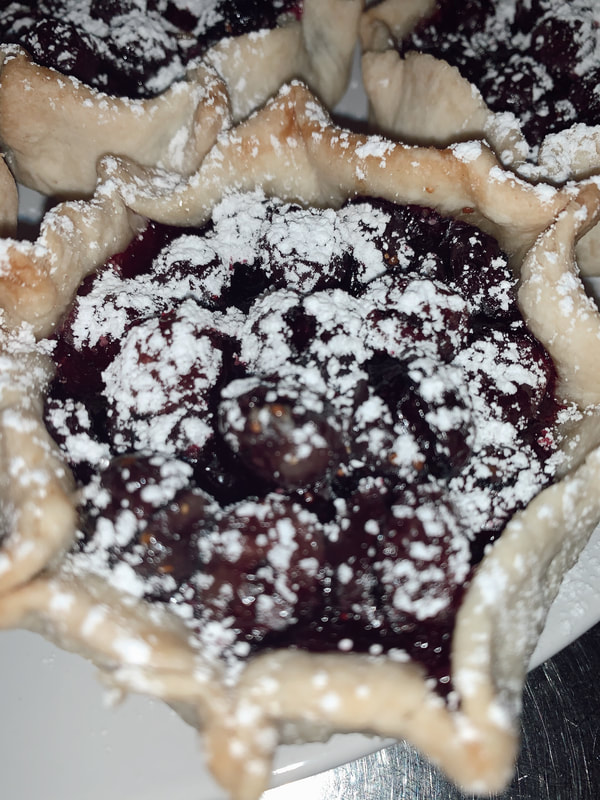 I waited for them to cool and dusted some powdered sugar on top.
These were sooooo good. I 100% recommend making these or a large one with blueberries, and maybe adding a tad more sugar. They were absolutely perfect and felt like a true delicacy! xoxo 9/7/2020 0 Comments Dutch BabyThis is basically a giant pancake. That's what sold me for sure. The Dutch Baby is actually a German pancake, not sure why they call it a Dutch Baby. This recipe was so easy!! I didn't take many pictures of the process, but that's because it was so simple!! I put all of the ingredients into the blender, turned on the blender, making sure all of the flour came off of the sides, and put the mixture in the fridge while I prepped everything else. The key to this is heating the iron skillet in the oven while the oven is preheating. The butter will 1000% sizzle when it hits the skillet, don't be afraid!! I had my dad help me out with pouring in the batter, because the skillet was heavy and I didn't want to accidentally burn my arm or something. I put the butter in, poured in the batter, and stuck it back into the oven. 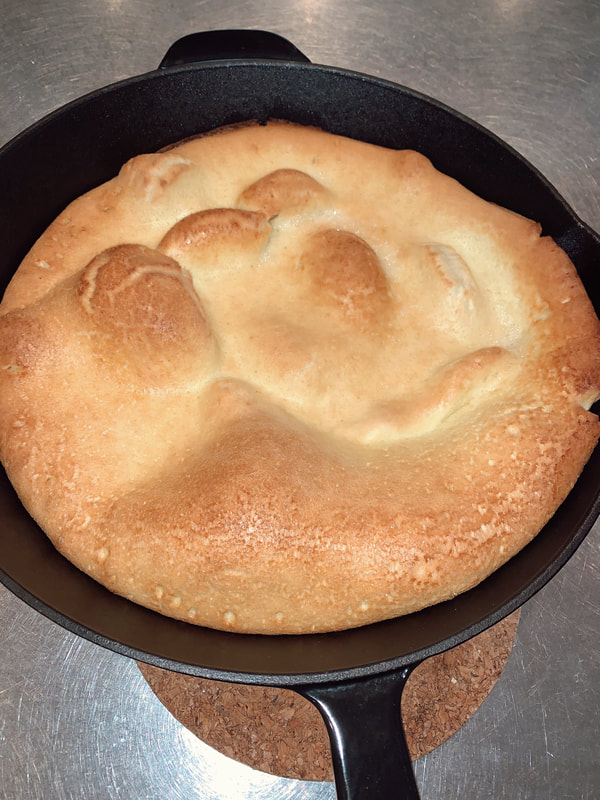 The Dutch baby puffed up so perfectly!! I left it a tad longer so that the edges would have a bit of color. It did deflate a little bit after cooling, and then I topped it off with some powdered sugar, and served it with maple syrup and strawberries on the side!
This is such a perfect breakfast treat!!
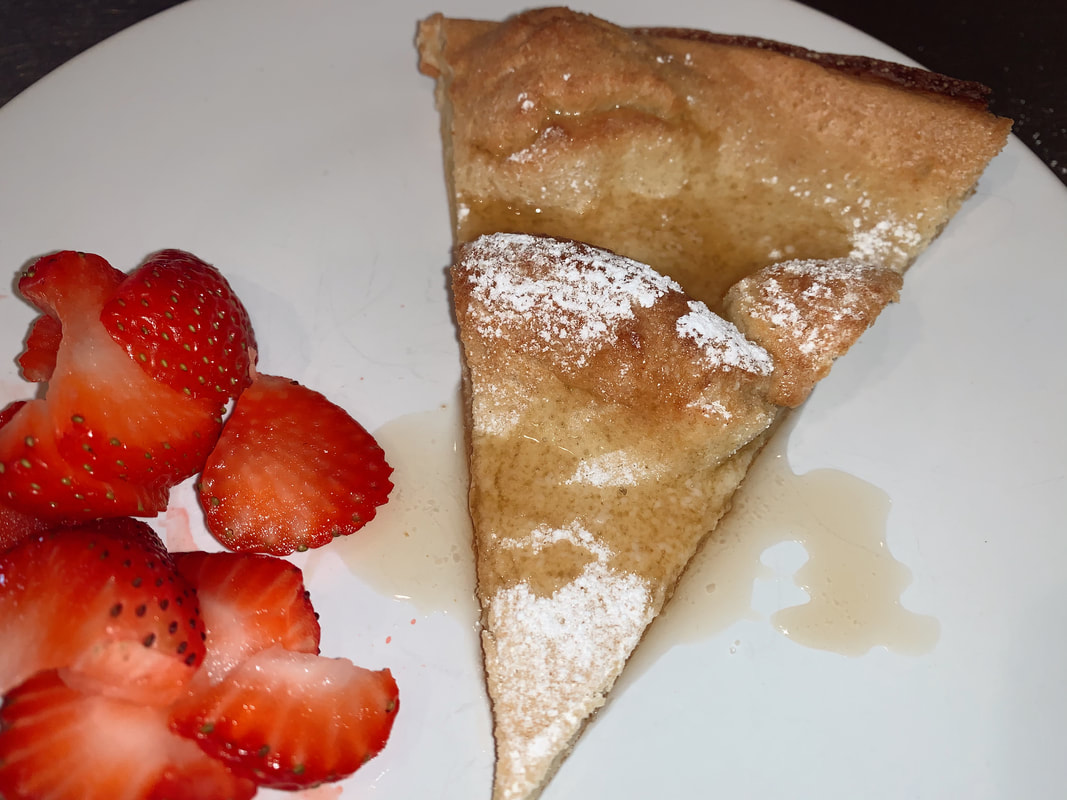
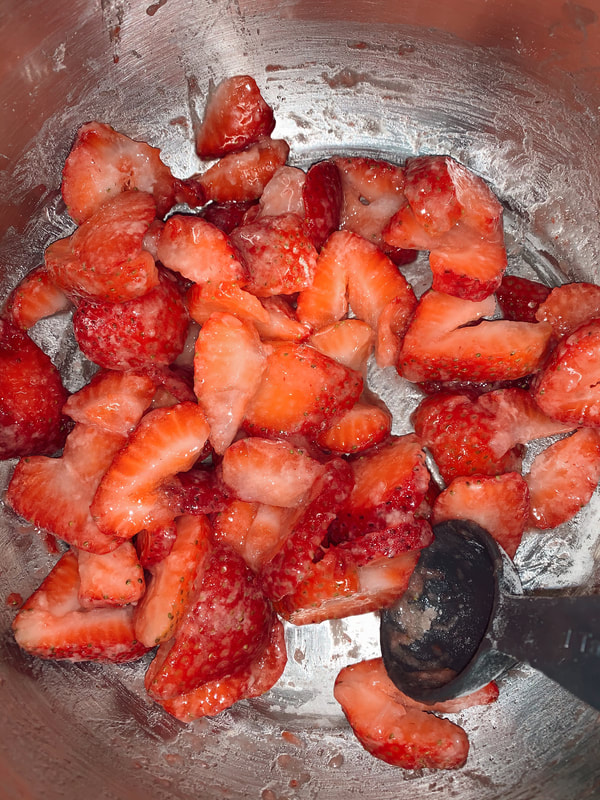
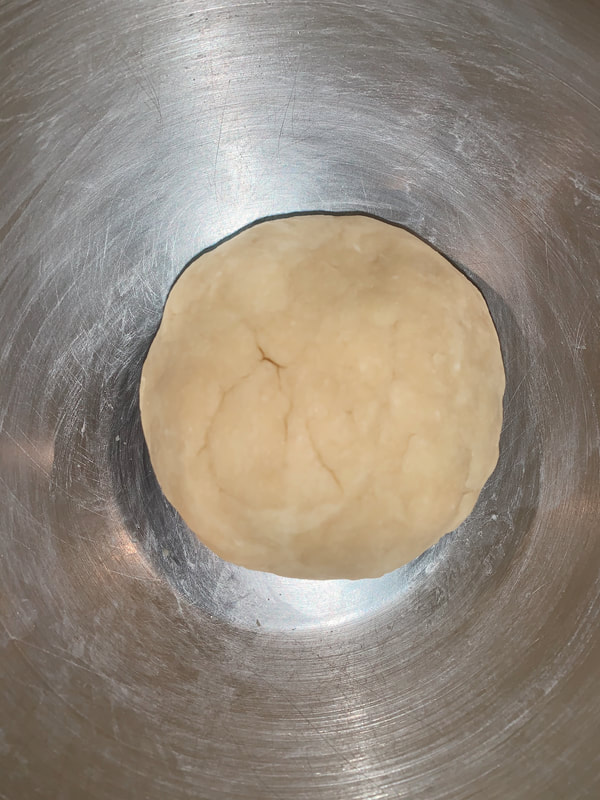
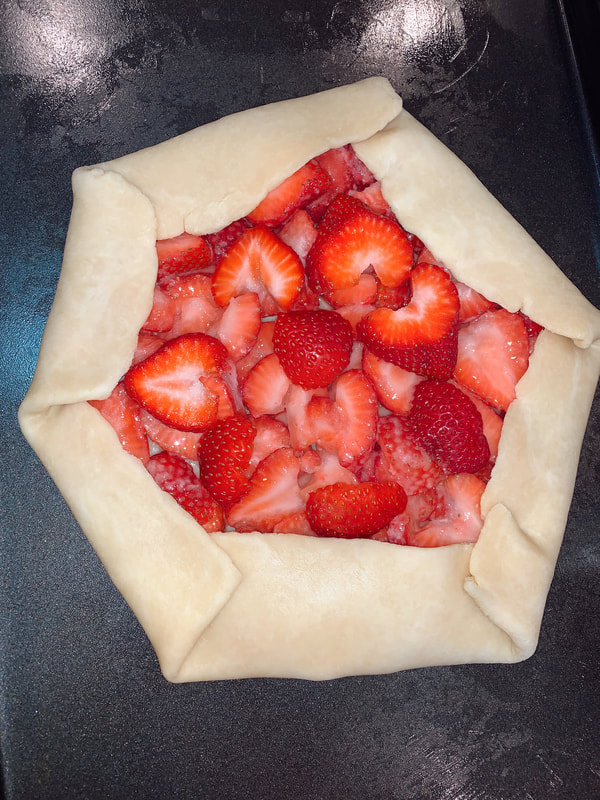
I highly recommend this if you wanna treat yourself or your family to a different type of pancake! xoxo 9/7/2020 0 Comments Strawberry GaletteY'all...if you have any fruit in your fridge and wanna bake something sweet and fresh, this is the recipe for you. I had never made a galette before. It's a French pastry cake, customarily filled with whatever fruit is in season. These can be savory or sweet. For this recipe, I opted for strawberries! Instead of using almonds, I just used flour to replace them. This is definitely the easiest dough I've made so far. I rolled up the dough and made sure to knead it well. It did have to sit in the fridge and set. After that, I mixed the sliced strawberries with the sugar. I carefully sliced the strawberries, because I knew that they would be exposed after baking.
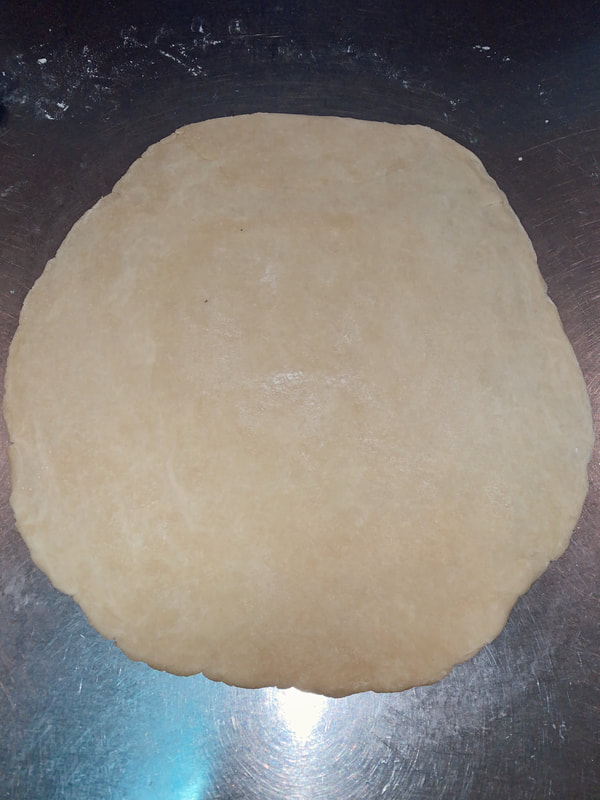
After letting the dough rest, I rolled it out and carefully placed the strawberry slices so they wouldn't fall apart. I ended up using another strawberry to top it off, because it looked a little sparse once I folded the edges over.
I set it in the oven to bake on a flat baking sheet and then it was time to dig in!! I let it cool for a bit, and goodness gracious it was so delicious!! The crust was not very sweet, but it only emphasized the strawberry flavor. 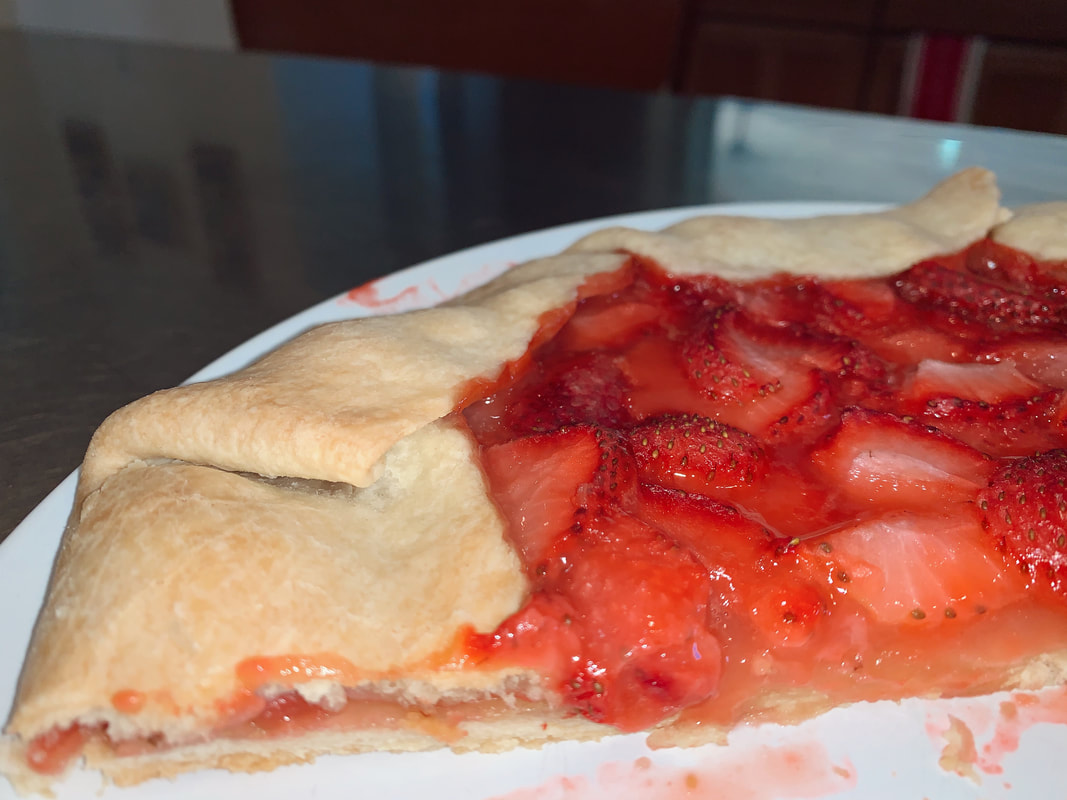 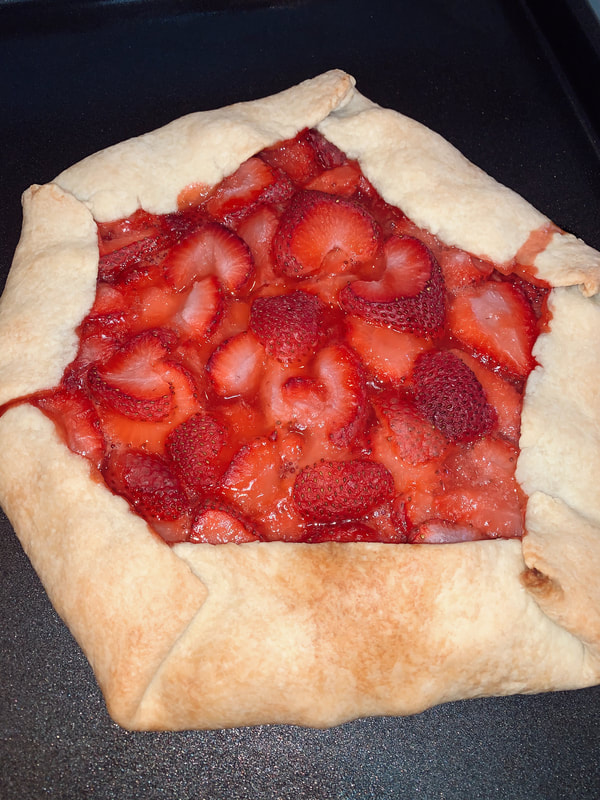 Absolutely a 10/10!!
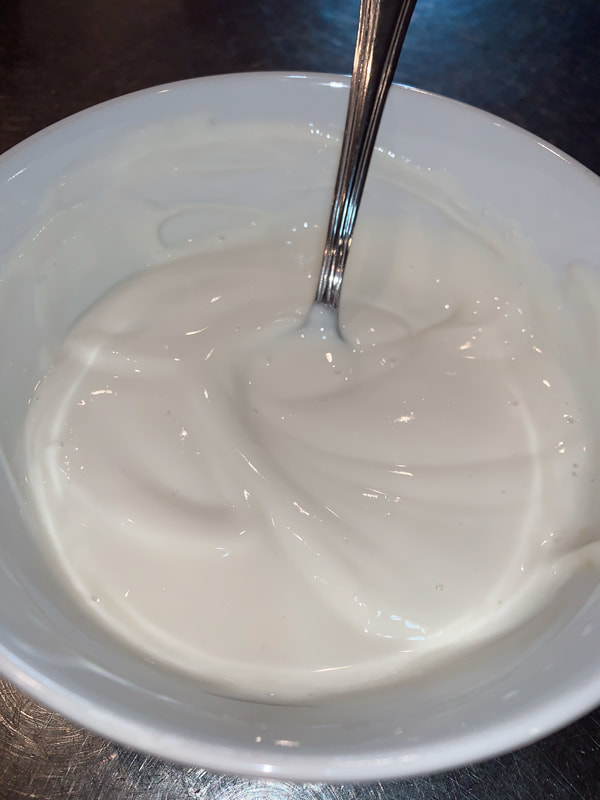
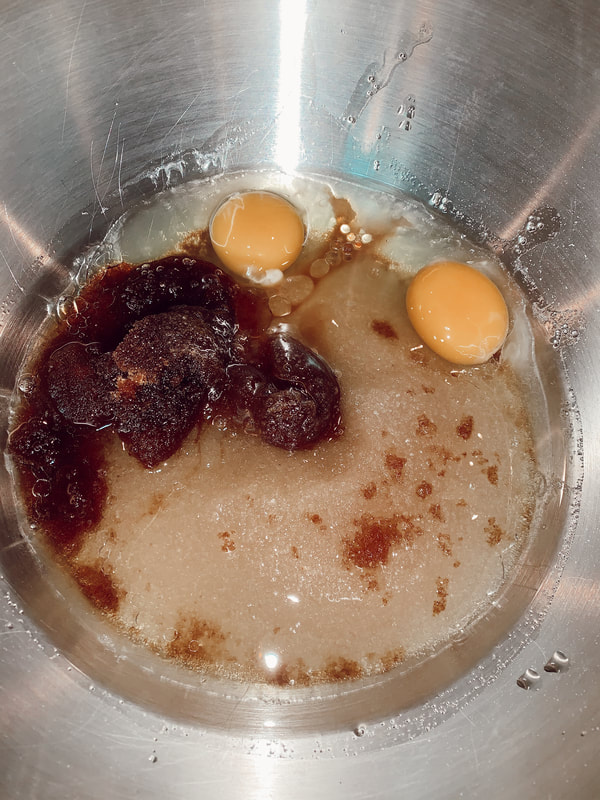
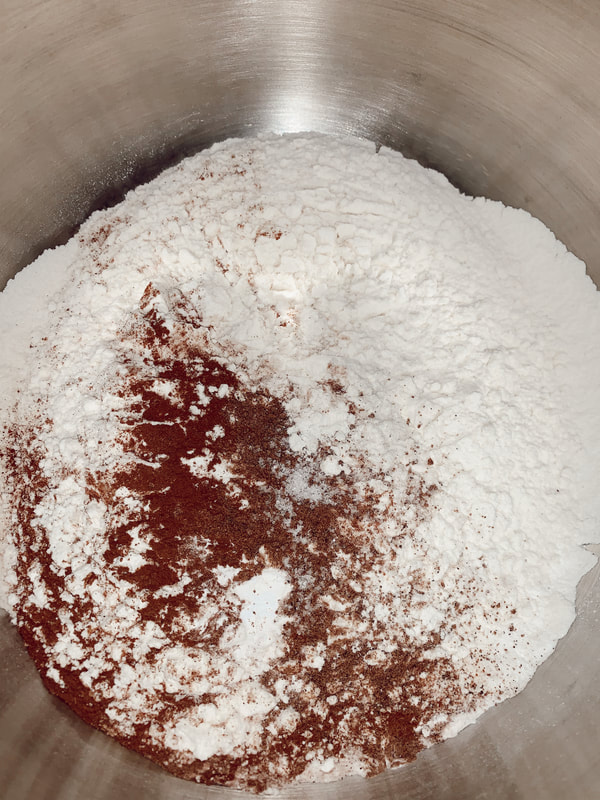
Let me know if you bake this!! xoxo So it'd been a little bit since I last baked. I actually did make a batch of cookies a few days ago, but the recipe can be improved so I haven't made a post about them. I started tracking what I'm eating about a week ago, because I realized that I wasn't properly fueling my body. I looked up some healthy recipes and found this beauty!! I've been eating lots of greek yogurt, because it's jam-packed with protein and pairs well with any fruit (fresh or dry) or cereal/granola. I ended up having exactly a cup of yogurt left so it was the perfect opportunity to make these delicious muffins!! Again, we had loads of fresh strawberries washed and ready for consumption, so I was so excited to make these! 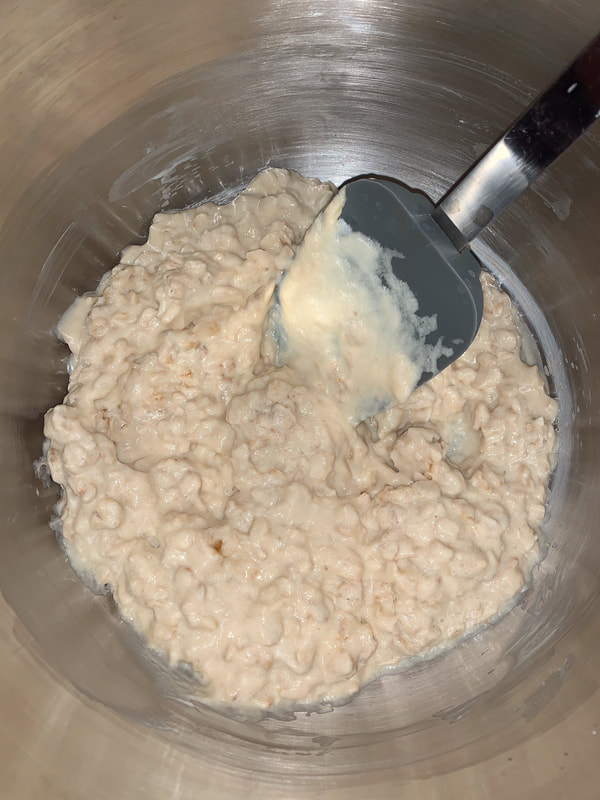 I put all of the wet ingredients together in a bowl. Doesn't look super duper appetizing, but the lumpiness of the batter is due to the oats! 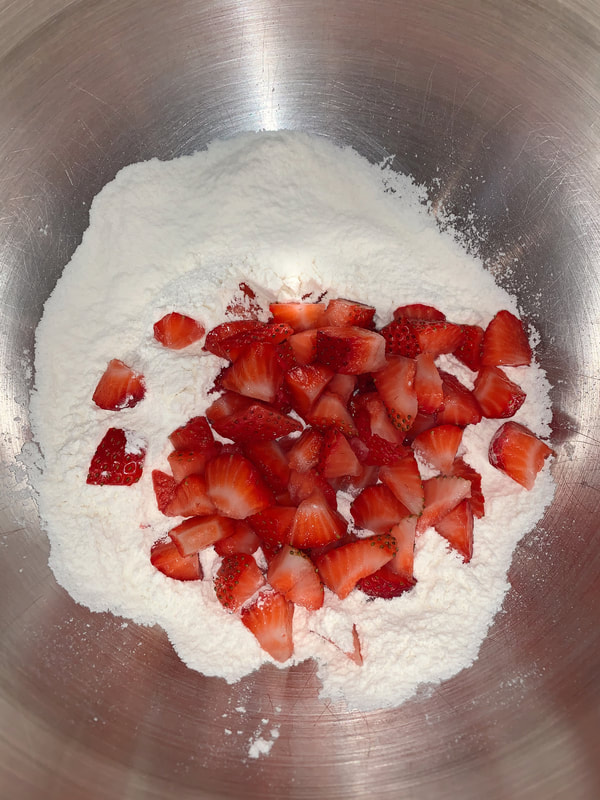 Here, I combined the dry ingredients in a bowl and let the sliced strawberries sit in the bowl for a little while. This let the strawberries dry out a little bit so they wouldn't be too wet for the batter. After combining the dry and wet ingredients and folding them in, I evenly filled the muffin pan to make 12 delicious muffins. 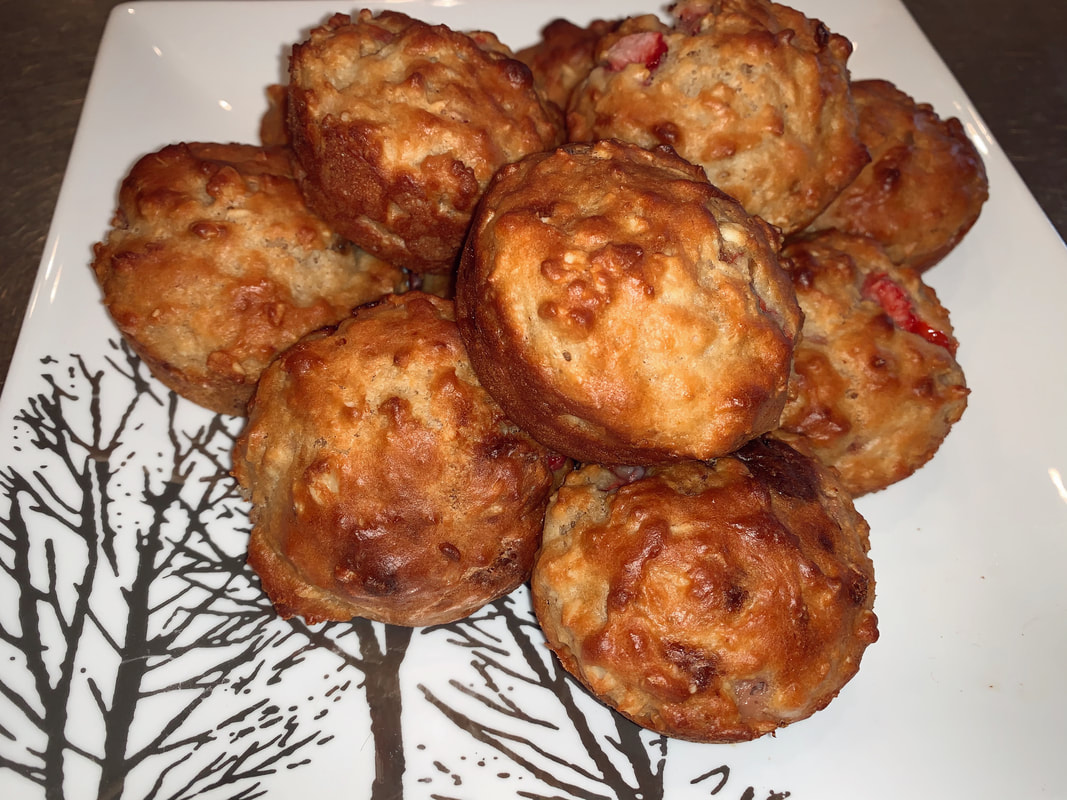 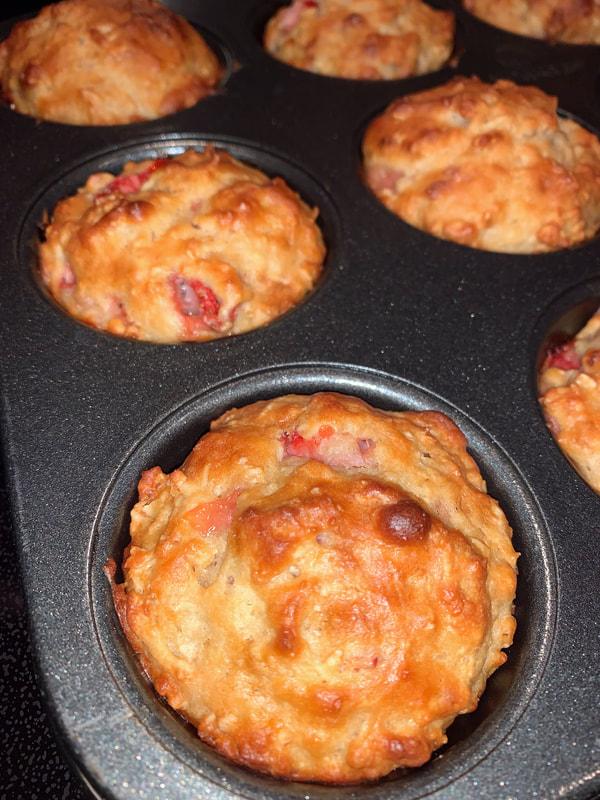 The muffins bubbled a little bit and the texture with the oats made them slightly more brown. Although the coloring is a little bit uneven, it didn't affect the taste at all!! They came out so fluffy and delicious! Nice and slightly crispy on top and soft on the inside. The strawberries perfectly melt in every bite. Ugh so good!! I would definitely make these again! Also, the yogurt made for such a nice consistency! It also adds more protein! I highly recommend this!
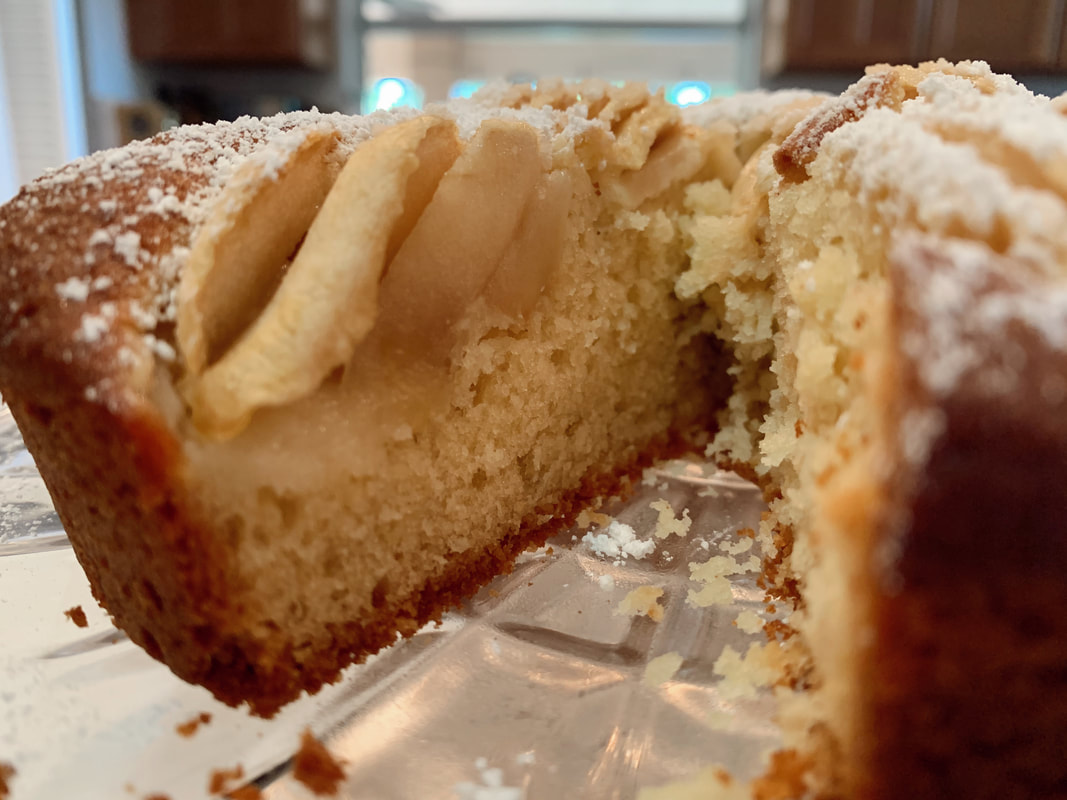
xoxo 7/1/2020 0 Comments German Apple CakeI hadn't baked for about a week and my brother reminded me that I have a responsibility to supply the baked goods for our household, so I woke up today knowing it would be a baking day!! I only had a cup of flour, so I waited until later in the afternoon when we had our groceries delivered to start. These beautiful red delicious apples were the inspiration for today's bake! How good do they look?! I was searching for apple recipes on Pinterest and came across this German Apple Cake. It caught my eye, because it looked so beautiful and a bit challenging to do. The recipe I used is linked below!! I highly recommend it!! 
After whisking together all of the wet ingredients and mixing the dry ones, I combined them with the milk into a bowl using a baking spatula. This part was absolutely the easiest and so simple to follow. It was a pretty basic cake batter. I did pop the butter into the microwave for a few seconds to soften it so I wouldn't have to whisk the batter for too long. 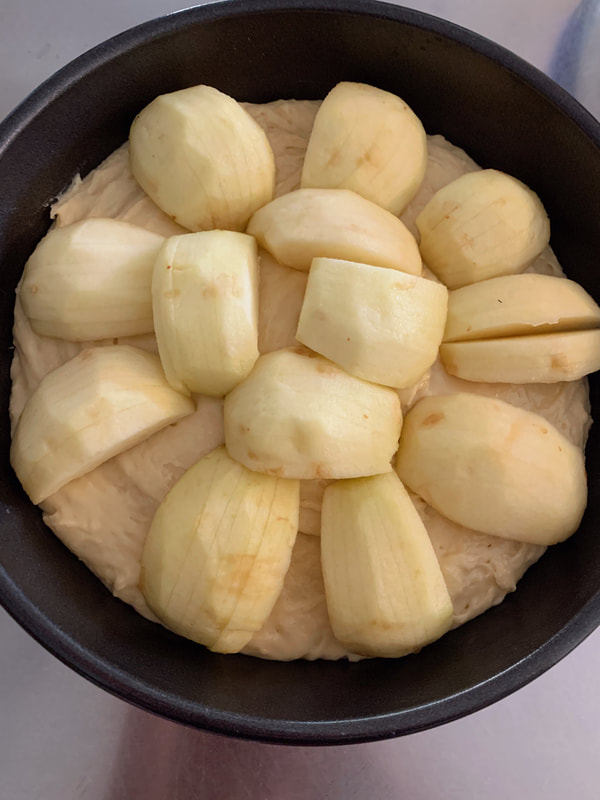 Time for the apples!! This was definitely a bit of a challenge as I expected. I didn't get any pictures of the mess of apple peels I made in the kitchen, because it was truly hectic. I did this part after doing the batter, so the apples wouldn't brown too much. Peeling them and cutting out the core was so difficult! I was trying to go as quickly as possible while also making the apple pieces as smooth as possible, because they would be on display on the cake. The slices along the apples were not too difficult to make, so I was able to do those quickly and place them on the cake! 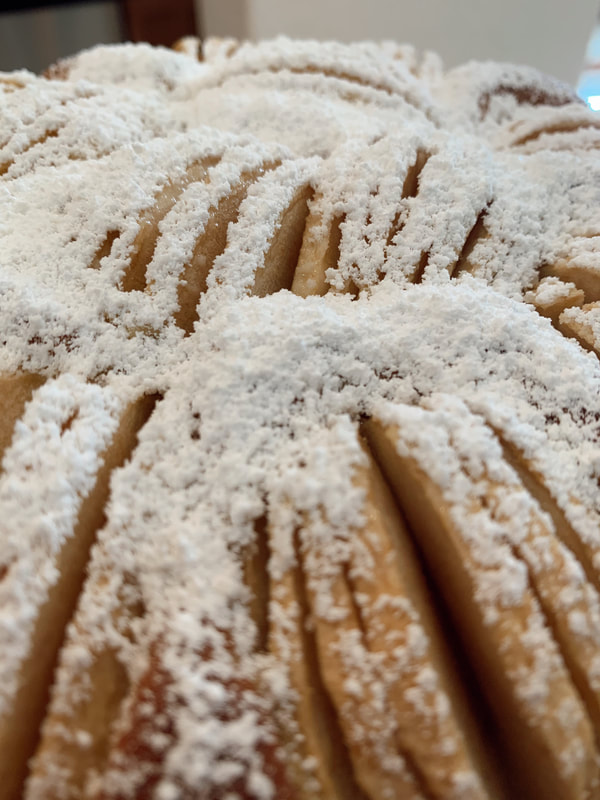
The recipe says to bake at 350 degrees for 50-55 minutes. At 50 minutes, the middle of the cake was not baked quite yet, so I left it for another 10 minutes. Check it again, and although the top of the cake was browning more than I wanted, I didn't want to risk that it wasn't baking all the way through, especially around the apples. I left it for about another 10 minutes at a lower temperature and it was perfectly baked through! 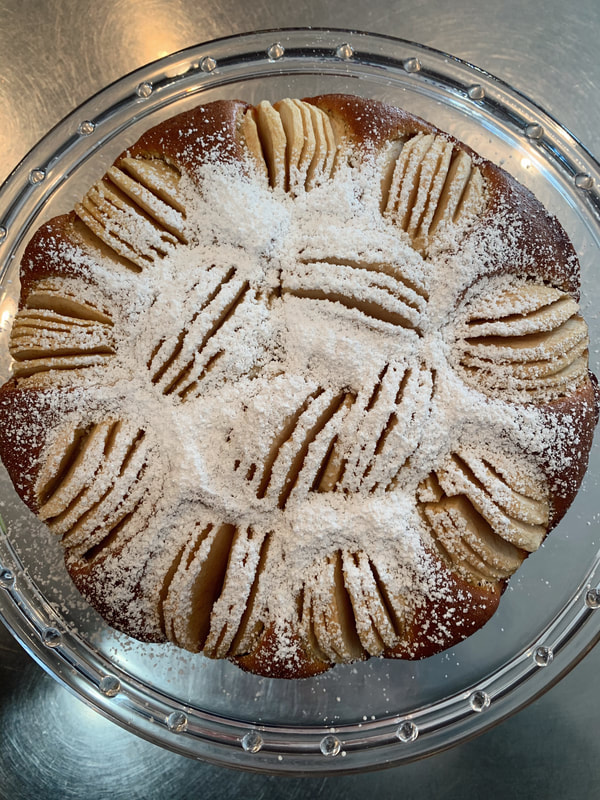 Wow wow wow this cake looks so professional and beautiful. I'm so happy with how it turned out. The powdered sugar sifted on top makes it look so dreamy and perfect! The apples made the kitchen smell so good! It tastes so cozy too! I opted to use almond extract rather than lemon juice in the batter, so it really complimented the apples well.
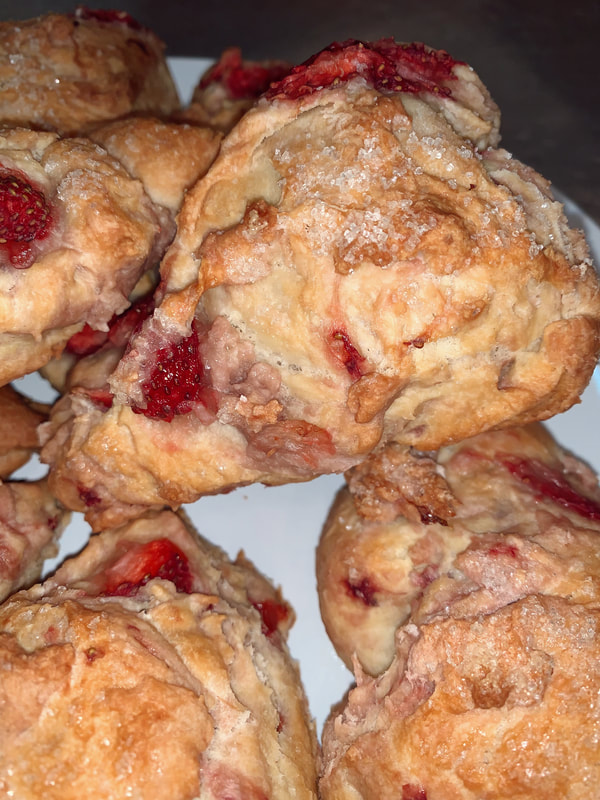
Let me know below what you think I should bake next!! xoxo 6/25/2020 0 Comments Strawberry SconesWe had a ton of strawberries that were on the cusp of being overdue, so I looked up recipes that required strawberries and found this beauty. I could not pass up the opportunity to make such summery-looking scones! They just look so happy!! I cut up and used what I could of the strawberries and ended up with a little bit more than a cup, which was perfect!!
I've made scones once before, but those were blueberry. That recipe called for 8 tablespoons of butter grated. This recipe called for 6 tablespoons cut into small pieces. I cubed up the butter and put it into the bowl with the dry ingredients. I combined it well, kneading it by hand, and then added the egg and milk mixture. I mixed it around with a silicone spatula and then kneaded the whole mixture with my hand. This was HARD WORK. My shoulder was on fire! But so so so worth it! 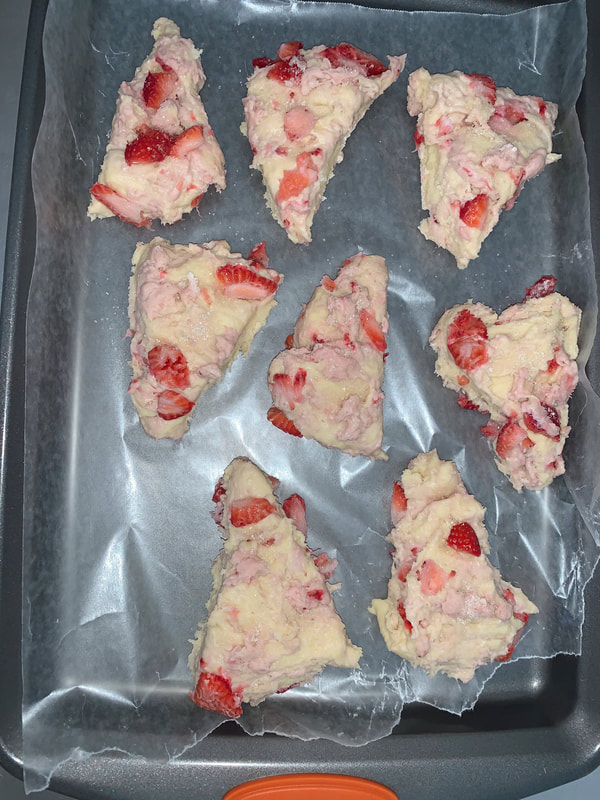 I expected this dough to be much more wet than the previous recipe I followed. When I made the blueberry scones, I used 2 cups of flour just like this one. However, when I added the strawberries, the dough turned into a huge mess! It was the mushiest, slimiest dough I've ever seen. Truly I feel that something like this happens every time I bake now. This time, I truly thought the whole dough was ruined, because it was turned to mush!! I called for my dad to please bring me a cup of flour and help me add it to the dough. He did! I kneaded and hoped for the best. I finally came together enough to cut it into 8 scone-shaped pieces, and voila! As you can see by the photo above, it turned out okay! 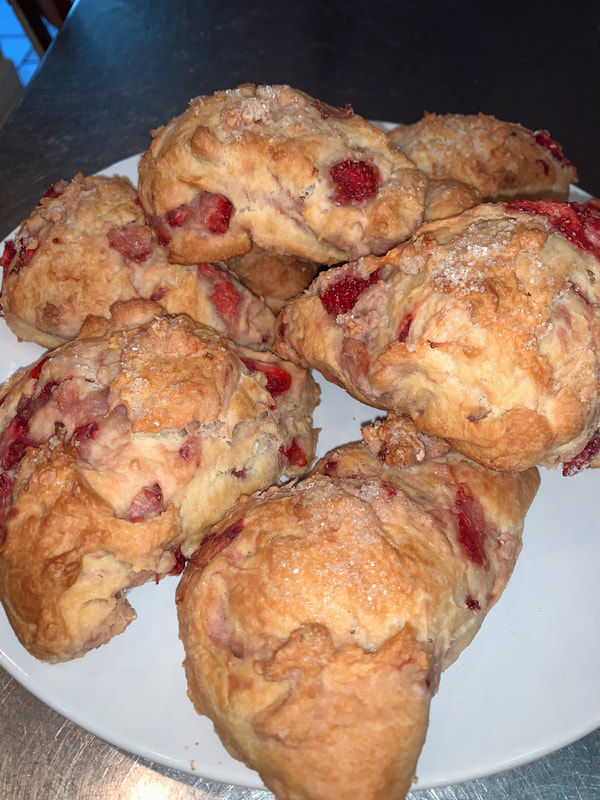 Here is a picture of all of the beautiful scone babies!! Fresh from the oven! I baked them for about 30 minutes! The oven was set for 400 degrees, but the tops were getting more crisp than the rest of them, so I turned down the heat to 350 degrees for the last 10 minutes. They were perfectly crisp on the outside!
For the frosting, I used half a cup of nonfat plain greek yogurt, two tablespoons of maple syrup, and about half a teaspoon of vanilla extract. I use a small spoon to top of the cones with the sweet yogurt!
The scones turned out perfect!! Absolute perfection! I actually prefer these scones to the blueberry ones! Eeee I highly recommend this!! xoxo We've been ordering our groceries online and having them delivered for a couple of months now, and every time there is something that's slightly off lol. This week, we got VERY large carrots, so naturally I thought I should make carrot cake!! I've never made anything like this cake before, so I didn't know what to expect! It doesn't have any milk or butter, so I was expecting a dry, dense cake. I got the exact opposite!! It turned out so moist and FLUFFY. So delicious!! I've linked the recipe I followed below. Because it calls to fill three 8-inch pans, I made two-thirds of the recipe. I'll put the amounts I used below as well. Ingredients Batter:
Frosting:
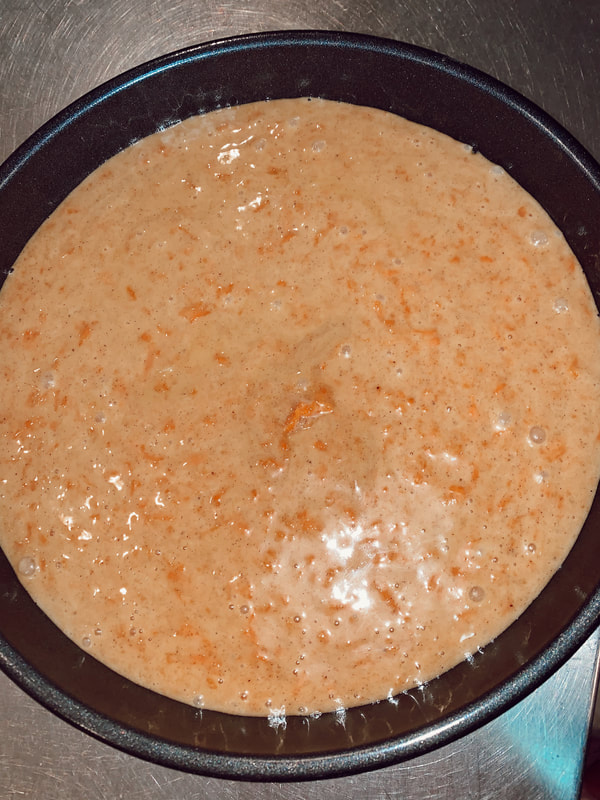
I put all of the wet ingredients in a large bowl and all of the dry ingredients in a smaller bowl. I got my electric mixer ready and mixed the dry ingredients first until they were well blended. The whole kitchen smelled like nutmeg by this point and it was sooo cozy! This cake felt like fall. Then I mixed the wet ingredients well. Brown sugar tends to lump together so I paid special attention to getting the clumps out. Next time, I'll try sifting it! After, I added the dry ingredients to the wet ingredients and mixed it well until it was fully incorporated. The electric mixer worked well at the beginning, but as it thickened, I decided to switch to a spatula and mix well.
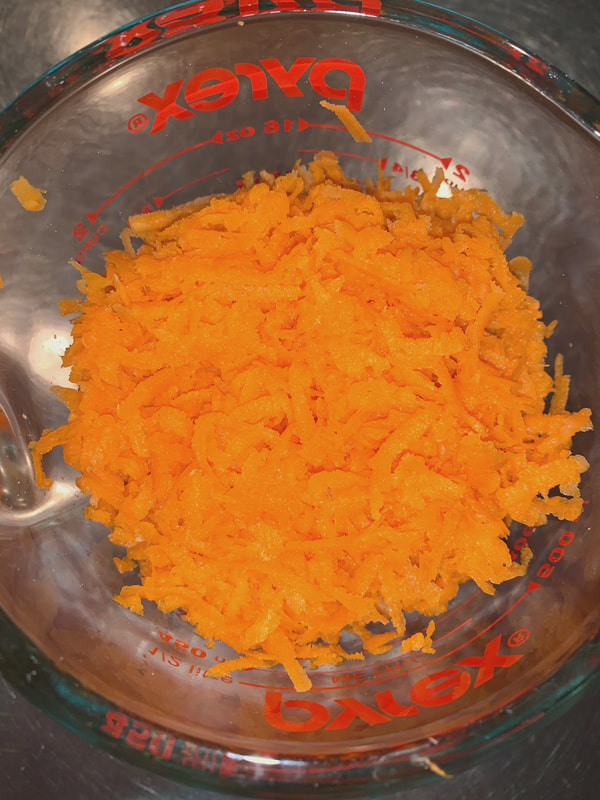
Carrot time!! This was the hardest part of this cake for sure. I washed and peeled 2 very large carrots and grated them. This was the biggest should workout!! I was careful to not cut my hands up while using the grater. It only took 2 carrots to get to two cups of shredded carrots, because the ones we had were absolutely huge, but this would probably take like 4 normal carrots. Because I was only making two-thirds of the recipe, I only used 2 of the 3 cups of carrots that were in the original recipe. Next time, I'd like to use at least a half cup more. Folding in the grated carrots, I poured the batter in two buttered pans. 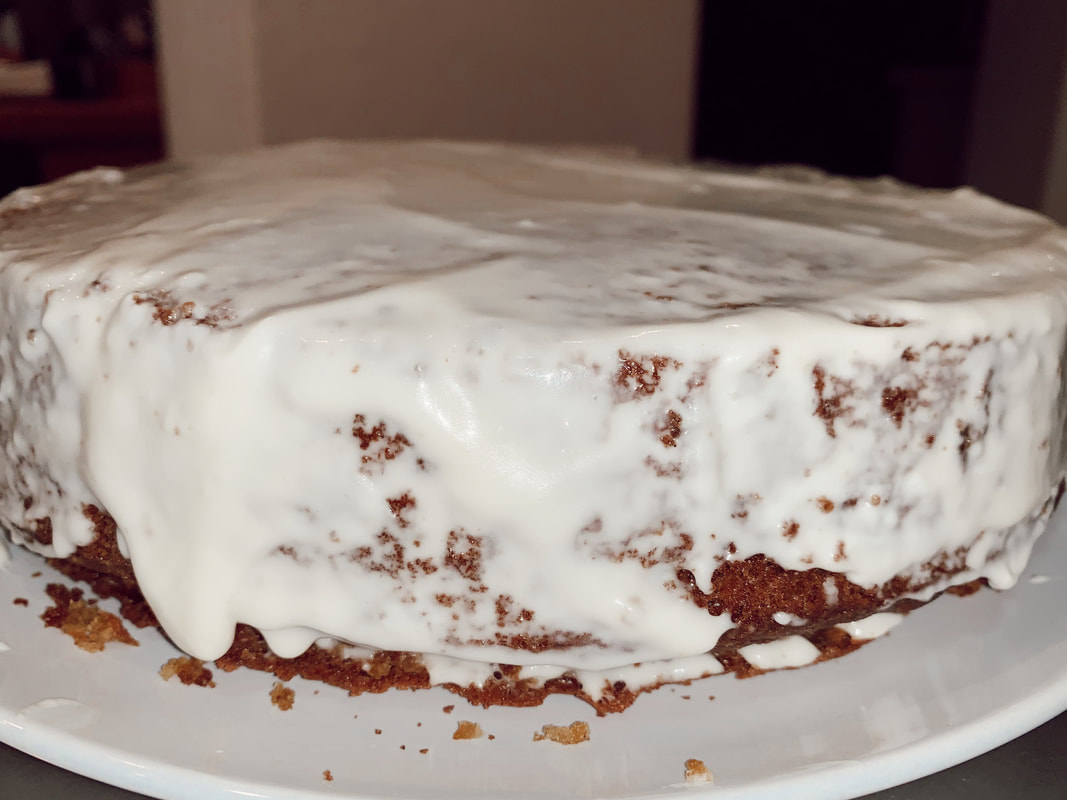 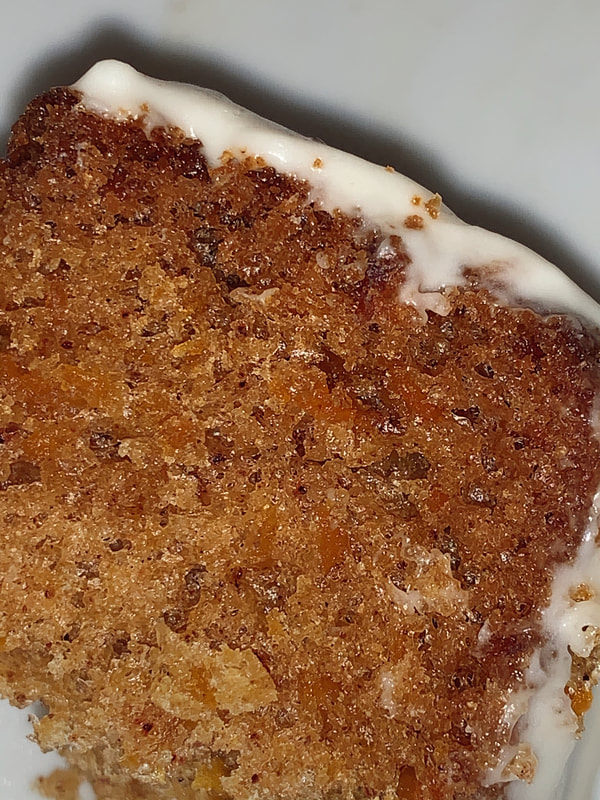 The real adventure began. The batter didn't seem at all enough to fill two pans, so I made the uneducated decision to just fill one 8-inch pan with the whole batter. It all seemed fine, until the cake grew three times its size in the oven. I was shocked. I had placed the pan in the middle of the oven, and it grew up to the next rack! My mom helped me take out the rack, because it was still growing!! Moral of the story: follow the recipe!!
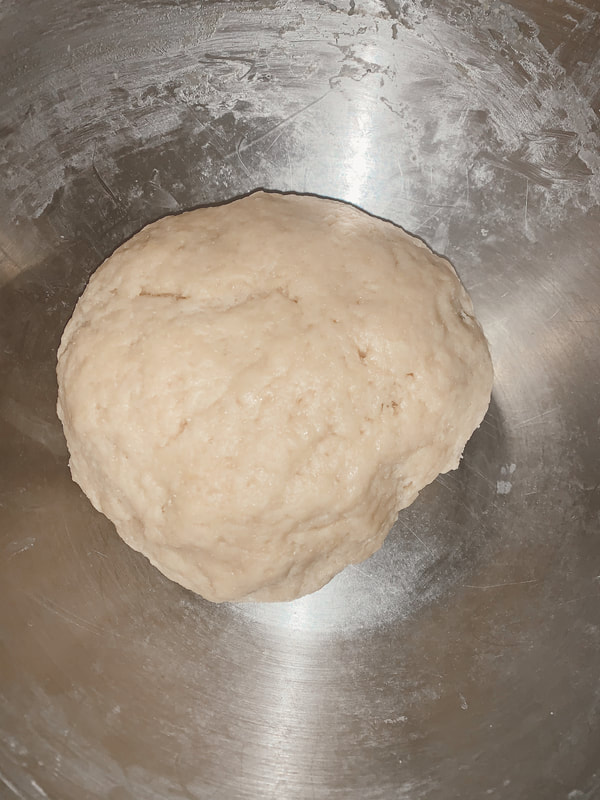
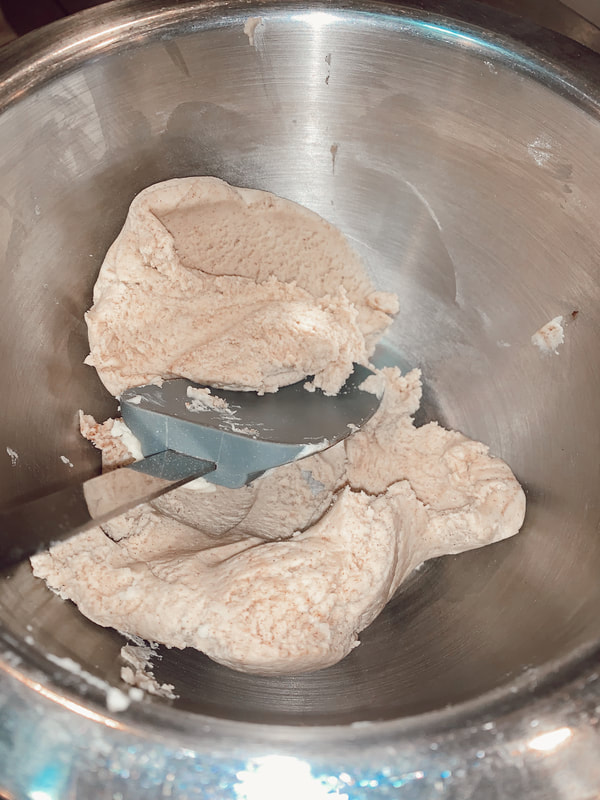
After removing the rack, I poked it with a chopstick in the middle and it was LIQUID BATTER. I could not believe my eyes. I left it in for 15 minutes longer than the recipe suggested, and then poked the middle of the cake again...it was straight up liquid again. With my mother's assistance, we took the cake out of the oven and sliced the top off so we could see what the inside of the cake looked like. Turns out there was just one small section in the very middle of the cake that was simply not baking. It was so little, that I just scooped it out with a small spoon and the cake was perfect!! I placed the cream cheese frosting in between the top that was cut off and the rest of the cake. To top it off, I spread the frosting all over the top of the cake and sides. I am so happy with it!! I highly recommend this cake!! 10/10!! xoxo 6/11/2020 0 Comments Mexican ConchasConchas are a Mexican staple. If you've never tried one before, I highly recommend it!! They're best fresh from the bakery with a cold glass of milk or a hot coffee. Conchas are a fluffy sweet bread with a crumbly thin cookie paste on top. The basic concha has a bit of vanilla in the bread and cinnamon in the topping paste. There are tons of flavors you can incorporate, and the most common are chocolate and strawberry. Today I made the basic vanilla and cinnamon ones. I kept my expectations low, but I was hopefully that they would at least taste really yummy. They did not disappoint!! I followed this recipe that I found on Pinterest. One of the tips was to set aside the measured ingredients so it would be more easily put together. I put all of the dry ingredients in the bowl and measured all of the wet ingredients. I did put the butter in the microwave for about 10 seconds so it would warm up a bit and be more creamy. 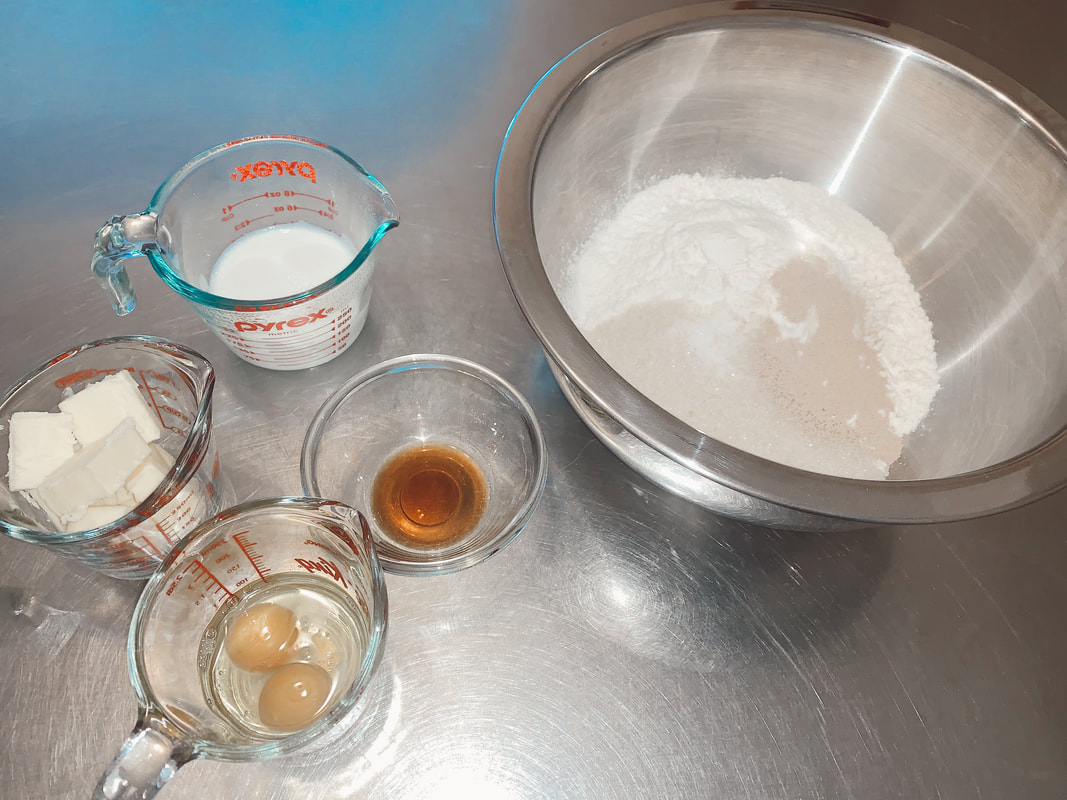 This is where I had made a big mistake!! I thought the warm milk would be enough to activate the yeast. I was so wrong! I should have put the yeast in the milk to sit for 10 minutes before adding it to the flour mixture. The dough was perfect, but I didn't realized my issue until later.
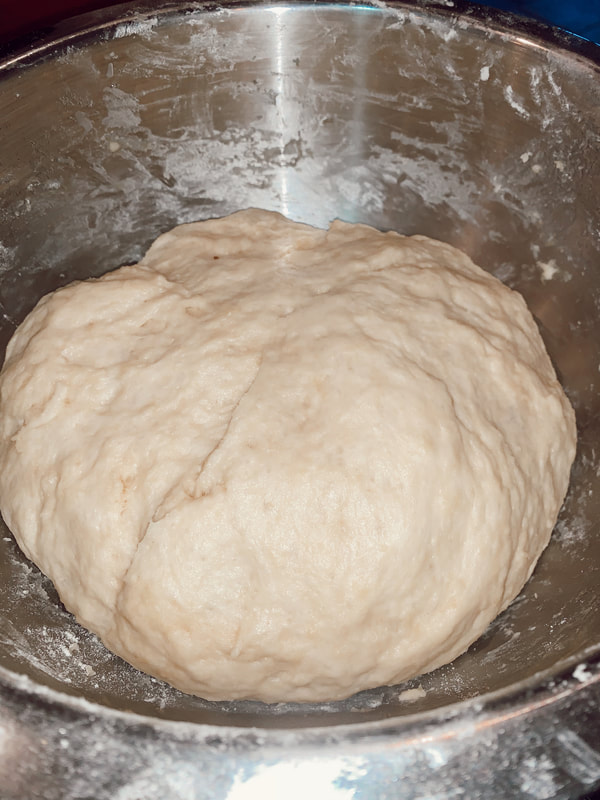
Above, you can see the dough how it was initially. The instructions say cover the dough baby for 2 hours and leave in a warm place to double in size! I kept checking on it, and it was not rising. The dough baby had yeast, but it wasn't activated!! After those two hours, I heated up a couple of tablespoons of water and added them to the dough. I kneaded it in hopes that it would activate the yeast. AND IT WORKED! I left it again to rest for about an hour and a half and it was a massive dough baby!! So happy!!
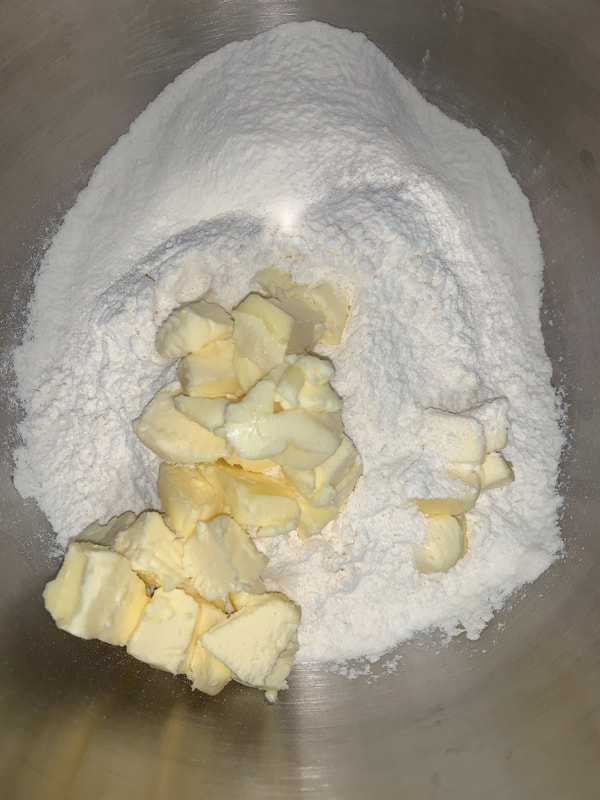
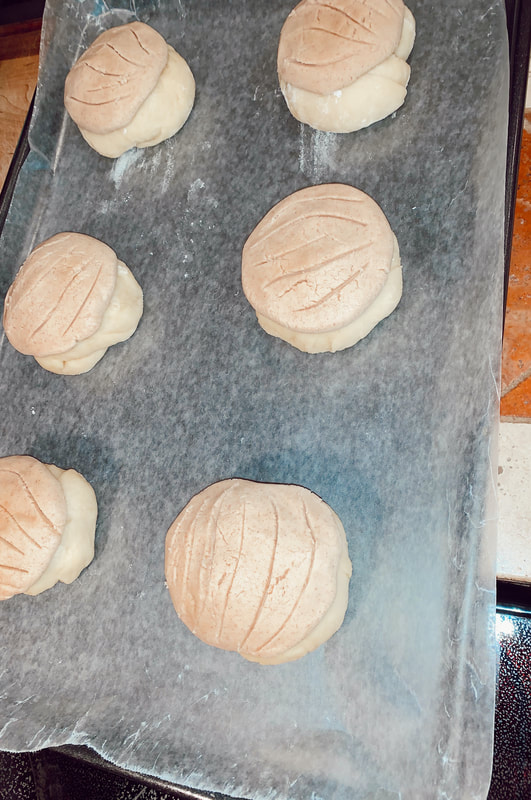
I divided the dough into 10 equal pieces, and then I made the topping paste with butter, flour, and powdered sugar. I added a teaspoon of cinnamon and made sure it was well mixed. I divided the paste into 10 pieces as well and molded them into circles. After gently placing them on top, I used a smooth ended knife to create the shell design on them, and they were ready for the oven!!  They came out so perfectly crispy on top and golden on the bottoms! Baking for 25-28 minutes was perfect for these! So delicious!!
Comment below what I should bake next!! xoxo |


 RSS Feed
